People take screenshots to share things like presentations, descriptions, or projects. Windows computers are equipped with an intuitive in-built Snipping Tool. This tool takes excellent screenshots but it has limitations. It is nearly impossible to take scrolling screens with this tool. It is however possible to take a scrolling screenshot with some tricks.
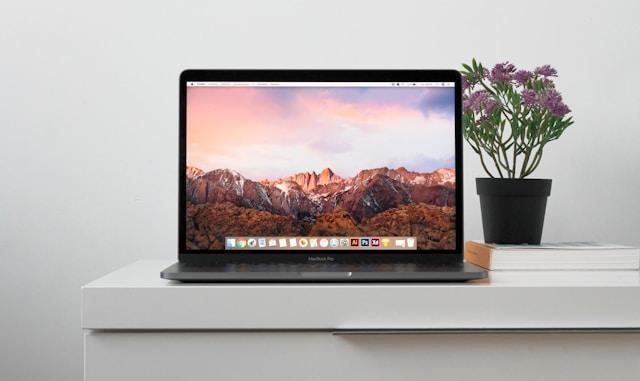
Image credit: Unsplash
Contents
What is a scrolling screenshot?
A scrolling screenshot is a screenshot that captures content beyond what the Snipping Tool can capture. On a normal capture, this tool can only capture parts of a page. If some parts extend beyond the screen, the tool cannot capture them. That’s why you need to learn some tricks on how to snip and scroll.
Everything will be different if you are using a MacBook and want to capture screens. The MacBook snipping tool is not a MacOS native. This should not discourage you because there are several alternatives. You may use keyboard commands to capture the Mac screen. The cmd + 4 keys capture a section and Shift + cmd + 3 captures an entire screen. There are others for this like Snagit and CleanShot X. Learn more about these tools at https://setapp.com/how-to/snipping-tool-for-mac. These tools let you take scrolling Screens on a Mac and edit them. Right knowledge from the right source will allow you to manage your snipping tasks better.
How to snip and scroll screens
Use a third-party software
The easiest way to capture scrolling screens is to use third-party software. Search online to identify the best software to use on your computer. It should be easy to use and have a feature for capturing and editing. Some like Greenshot, ShareX, and PicPick are excellent for this work. It is easy to install and use them.
- Visit your targeted software’s website and download it onto your computer. Most of these tools are free. Install it and launch it once the installation is complete.
- Once the software opens, check the options, select capture, and click on the Scrolling Window option.
- You don’t have to select the capture areas because these tools do automatic selection. They detect the scrollable area and capture the screen instantly.
- Before you share the screen, edit and adjust edges or add information if the software allows.

Image credit:Unsplash
Scroll screen with your browser extension
There are thousands of browser extensions that you can add to your browser. Some of them contain screenshot scrolling features. You require a few minutes to learn how to use web capture. These extensions do not work as standalone tools but require using the Snipping Tool too. Check your browser database and identify tools with snipping features.
Install the extension into your browser and wait for the process to complete. Open your target webpage and click on the extension. Check the extension’s capturing options and click on the Capture Full Page option. Some extensions might have a Capture Scrolling Window instead. Use the Snipping Tool to refine the screenshot and edit the details.
Scroll screen with PDF
You might not be able to accurately capture a lengthy document on a webpage. In this scenario, click the Save button on the page and select Save as PDF. Select the destination file and save. If it is a Word document, open File and then Save As and select PDF.
Now use Viewer to open the PDF. An example of a Viewer is Acrobat Reader. Once the page is open in Viewer, use a third-party tool to scroll the screen. You can also use a Snip and Sketch tool for this. Save your screen and share.
Use a Snip and Sketch tool
A Snip and Sketch tool is the improved Snipping version in Windows. It is available in Windows 11 although some Windows 10 computers might have it. There is no straightforward way to use this to take scrolling screenshots. Just like the Snipping Tool, you can use several tricks to go around it.
Type the words Snip and Sketch in the search bar at the bottom left of your screen. You can also use the Windows key – Shift –S keyboard shortcut to open the tool. It lets you take a variety of screenshots like full screen and rectangular. Open the screenshot options and select full-screen snip. This option will capture an entire screen.
Once you capture that screen, scroll down and capture another one. Keep scrolling and capturing until you reach the bottom of the page. Save the different screenshots into one folder for quick access. Once through, open an image editing software like Photoshop or Microsoft Paint. Use this software to edit them and combine them into a scrolling screen.
Conclusion
The Snipping tool captures great screenshots but it cannot capture scrolling screens. Several tricks can help you go around and solve this problem. The easiest way is to use third-party apps although you can use a browser extension or PDF method. Save your screens and refine them by removing unwanted sections.